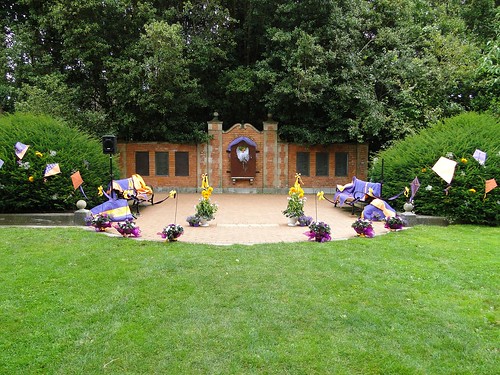
It's not a closeup but here are all 6 quilts that I made for my sister's wedding. They are made from Kona solids and I just pieced things randomly. They are big, about 72 x 90 or so each.
They came in handy because it was quite cold at the reception.
Hopefully I'll get some closeups at some point. Since I sent them out to the rest of my family to be bound, I never took any final pictures of these quilts.
Showing posts with label ragged edges. Show all posts
Showing posts with label ragged edges. Show all posts
Monday, September 12, 2011
Wedding Quilts


Saturday, June 4, 2011
California Dreamin' Ragged Circles

Bagged up and ready to go, I finished, that's right finished a quilt this morning. I washed it up and sent it off to be gifted to a new baby. I printed up some washing instructions on a bit of cardstock and pinned it to the bag as well. Hopefully that's enough to convince the parents to use the quilt. And hopefully that baby likes really bright colors!
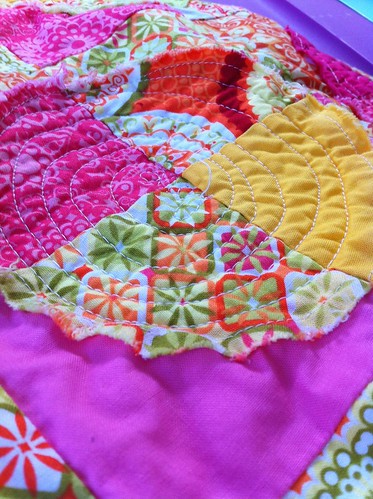
The circles washed up well too. No strings to trim really. I'd like to see them after a few washings as well but since this is a sold quilt, I probably won't get that chance.
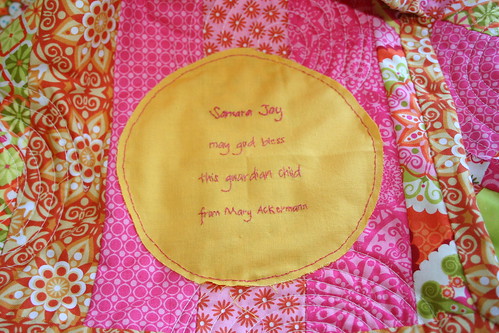
I printed the wording on the label and then embroidered it this morning. For her name, I used two strands of floss but for the rest I used just one and like the way it turned out. I really like the baby's name, Samara means guardian so she could be a guardian of joy. Something that we can all use a little more of in our lives. Plus I'm partial to unique first names :)
I've a few more pictures on Flickr if you click any of these posted. I try to take a ton of pictures when I know the quilt is heading out of my life.
Ciao Bella!
Tuesday, May 3, 2011
SDMQG Sewing Day
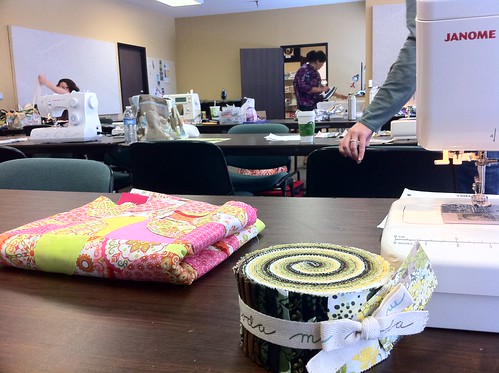
I was able to attend (although was very late) our guild sewing day. The space is great, plenty of room for us to spread out and sew. I managed to finish the backing for the little ragged circles baby quilt and threw a couple of precuts in my bag just in case. Lucky that I did since I didn't manage to bring any of the other projects I've been working on. It was quite handy to have a whole store to pick from for the neutral to go with this jelly roll of Origins.
According to my handy dandy excel tracking sheet, I have to finish a quilt every 21 days in order to meet my goal of 24 this year. Umm, yeah. I should be at 8 finished and I'm at a whooping 1. One. It's fine, who doesn't want a whole lap full of quilt to bind just as the summer gets ready to show up? Might be a year to perfect the art of attaching both sides of the binding by machine.
According to my handy dandy excel tracking sheet, I have to finish a quilt every 21 days in order to meet my goal of 24 this year. Umm, yeah. I should be at 8 finished and I'm at a whooping 1. One. It's fine, who doesn't want a whole lap full of quilt to bind just as the summer gets ready to show up? Might be a year to perfect the art of attaching both sides of the binding by machine.
Sunday, April 24, 2011
Quarter Circle Stack
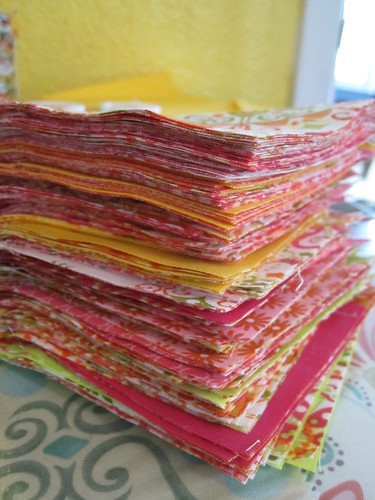
We went from this stack. . . .
to this top.
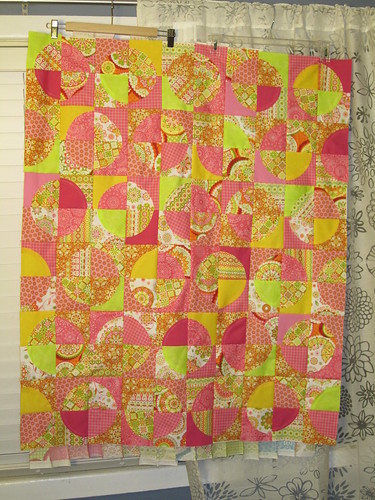
It's my first go at circles and I used this tutorial from Cluck Cluck Sew but I didn't read it that close and made my circles a bit bigger than she recommends. It's turned out just fine though.
The back is about 3 inches shy crosswise, so I'm going to think about it a bit before I quilt it up. Why finish something just because it went together fast.
to this top.
It's my first go at circles and I used this tutorial from Cluck Cluck Sew but I didn't read it that close and made my circles a bit bigger than she recommends. It's turned out just fine though.
The back is about 3 inches shy crosswise, so I'm going to think about it a bit before I quilt it up. Why finish something just because it went together fast.
Tuesday, April 19, 2011
Quarter Circles
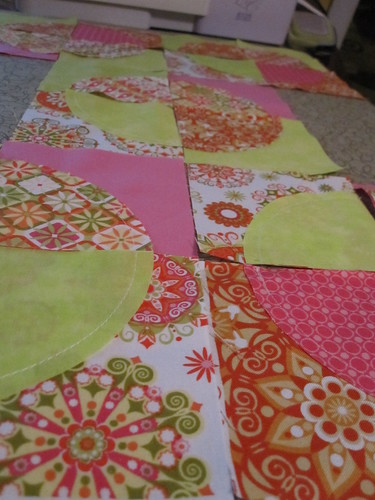
Still on the California Dreamin' kick today. I'm using this tutorial on Cluck, Cluck, Sew and so far liking the results but who could have guessed that if you cut an eight inch square into quarters that you would end up with four inch squares. They look so tiny. I'm adding in some solids from my stash so that my eyes don't burn out of my head.
Monday, April 18, 2011
Back? Blocks?
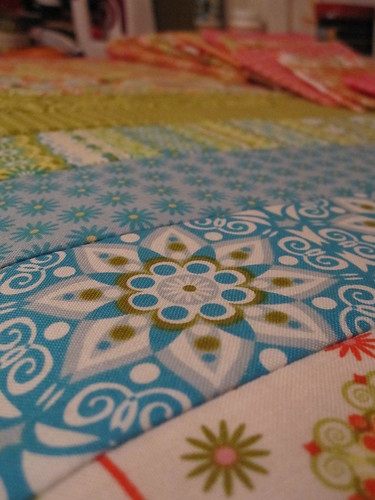
I started planning cutting for a circle-y quilt top this morning before work. When I got home, there was a package from Wondrous Woven Fabrics with a little roll of the same fabrics I was considering. Despite the four fat quarter bundles currently eyeballing me on my desktop, I opened up the roll and sewed all 16 strips of this California Dreamin' fabric together. It's fun, it's cheery, it's bright. All the things that were missing from today. So here it is, if I can keep the front small, I've got a back ready to go. Although I am wishing that I had a couple of fat quarters of the Golden Gate blues and greens colorway to mix in to the front.
Circles, you're still on my list, get ready!
Saturday, March 19, 2011
Saturday Stash #12
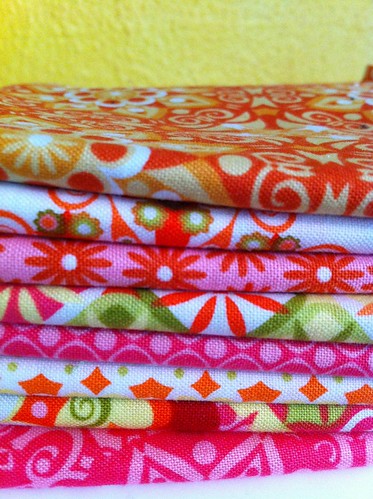
A little pile of fat quarters from Hawthorne Threads (I think). The line is California Dreamin' by Jenean Morrison and I'm thinking of turning it into a quick baby blanket. The orange on top is my favorite.
I have been doing a little bit of actual sewing but am prepping for a vacation and that requires a lot of reading and panicking. No, I don't have anything to panic about, I just do it anyway.
Saturday, March 27, 2010
Pinwheel

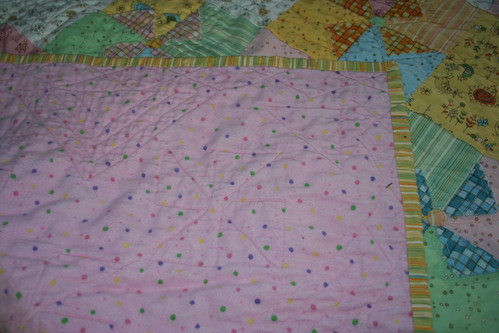
This is the final, washed up version of the quilt for my niece that my mom and I worked on. It was a kit from Stars & Scraps Quilt Shop in Corona and we made it a little bigger by adding in an extra row of pinwheels. I think it's the first quit that I've done on point and is definitely the first raw edge piecing. Super easy and fun though. The directions were great and they also detailed how to quilt it. We did not want to use the hard plastic buttons for the pinwheel centers so did do little buttons out of fabric yo yos.
Tuesday, January 5, 2010
Pinwheel Center
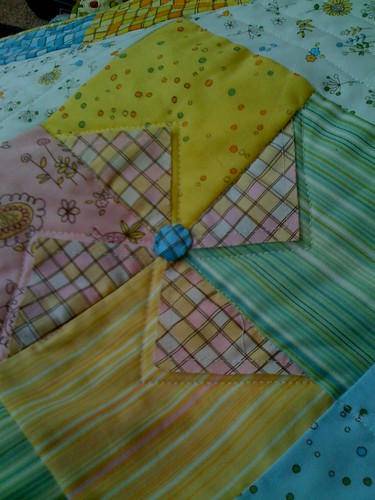
I think that this is the center we're going to do for the pinwheel's on my niece's quilt. I've sent the picture for approval on to my mom though so it could change. If it's okay then I've got to make 8 more yoyo buttons for this quilt. But I didn't bother to measure this one before I sewed it down. Oops!
Subscribe to:
Posts (Atom)